Rev5986 Junkers JU-88A1 Bomber Pro Mod
Price 32.45 - 49.99 USD
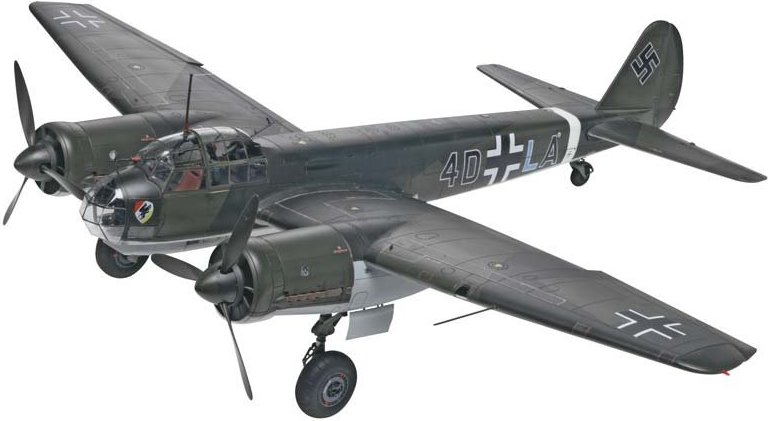
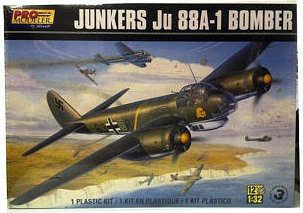
Experience the fun and satisfaction of building your own iconic Junkers Ju88A-1 Bomber with this Revell model kit. The kit features highly detailed plastic pieces molded in light grey and clear; super detailed cockpit with side walls, bomb-site, wireless equipment and instrument panels; surface details with recessed panel lines, separate ailerons and flaps; and rotating propellers with detailed engine cowling. Glue and paint (not included) are required to complete this model. Product is intended for ages 12 and up. 1:32 scale. The Junkers Ju88A-1 Bomber is sure to please kids, hobbyists, and history fans. Model building is a great way to develop learning skills and increase dexterity. Join the World of Model Building There’s nothing quite like the satisfaction of building a model. But did you know that studies show that building a model can help develop coordination, improve dexterity, and advance reading comprehension skills? Plus, it’s a great way to inspire creativity and learn the history behind some of the world"s most popular vehicles and figures! Whether you’re new to the hobby, an experienced builder, or just looking for a project to share with a child or grandchild, it’s time to discover the thrill in being able to say, “I made that!” The Story Behind the Model The Junkers Ju 88 A-1 was a World War II German twin-engine, multi-role aircraft. Powered by 1,200 hp (895 kW) Jumo 211B-1 engines, the Junkers Ju 88A-1 was intimidating on the ground and in the air. Employed as a bomber or fighter, the Ju 88 was sure to hit its targets. It was used successfully as a bomber, dive bomber, night fighter, torpedo bomber, reconnaissance aircraft, heavy fighter, and even as a flying bomb during the closing stages of conflict. Helpful Hints For Building Your Junkers Ju88A-1 Bomber is a Level 3 kit - it is suggested for more advanced model builders. Parental supervision is suggested. Always study the assembly drawings included in the packaging before beginning. Each part is identified by a part number.Trimming to remove extra plastic and filing to smooth before part assembly is suggested. For better paint and decal adhesion, wash the plastic parts in a mild detergent solution. Rinse and let air dry. Check the fit of each piece before cementing in place. Allow paint to dry thoroughly before handling parts. What"s In The Box? 281 parts and fully illustrated instruction guide. Incredible detailing gives you a model you"ll be proud to show off.